The Toolbox of an Exhibit Designer
Thursday, November 19, 2020 2:00 PM by Grace Carroll in Design and Planning

My job is fairly unique. Whenever someone asks what I do and I answer “exhibit designer,” I always have to explain what an exhibit designer does. Most people then proceed to tell me they never thought of how museum exhibits were made and they didn’t realize that was a job. While my job entails a lot of different tasks, the actual designing of the exhibits is what most interests people. It requires a lot of creativity, imagination, and collaboration, along with the right set of tools to communicate ideas to my team and our clients.
Here is a list of the tools I currently use throughout the design process.
1. Pinterest
Pinterest is filled with all sorts of inspirational images from various creative industries. Searching for specific types of exhibits, installations, and interactives is much easier here than on search engines like Google. Almost every exhibit I work on has its own Pinterest board of inspiration images and I keep an overall exhibit inspiration board for anything I see while I am just browsing Pinterest for fun.
2. Taylor Studios Flickr
My next stop when designing an exhibit is always our company Flickr page. I search through previous jobs to find images from exhibits that might be similar in content, size, or budget.
3. Paper and Pencil
Real sketching is still an irreplaceable tool. Later on in the process, I move to digital drawing, but, in the early stages, taking pencil to paper gets ideas out of my head more quickly than anything else. We also sketch together during our client workshops, with all members of the design team and the client contributing drawings. Those sketches typically hold some of the best exhibit ideas.
4. SketchUp
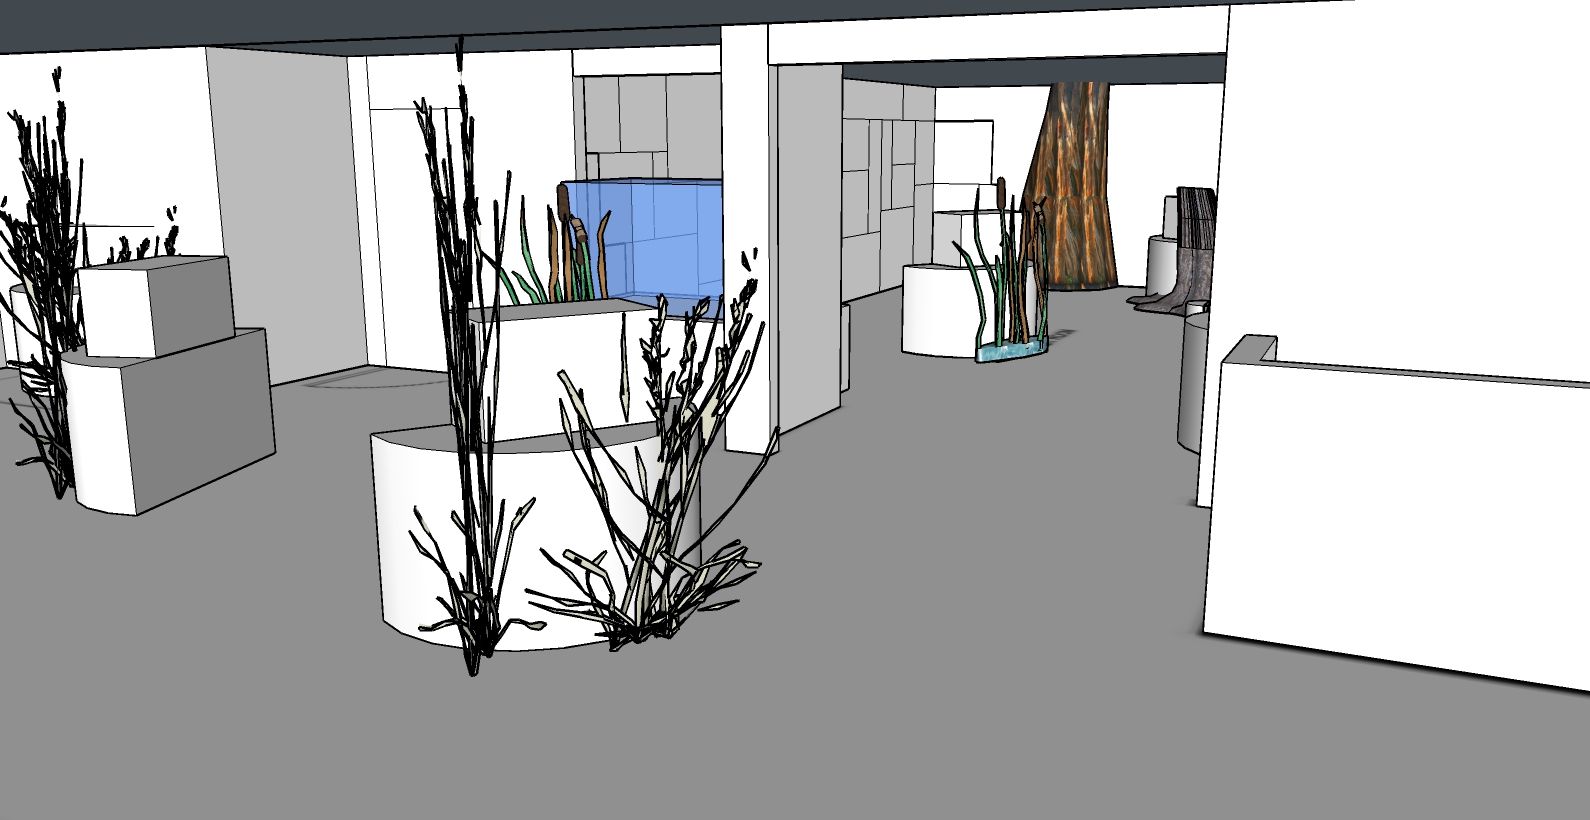
Once we know more about the exhibit’s physical space, I throw together a three-dimensional model of the room. This model helps me get started on the layout and size of various exhibit elements. I don’t spend much time on details, just the rough overview. Then, I zoom into the room and save views as JPEGs. I trace on top of these views to create my digital sketches, which saves me from spending a lot of time worrying about getting the perspective right.

5. iPad and Procreate App
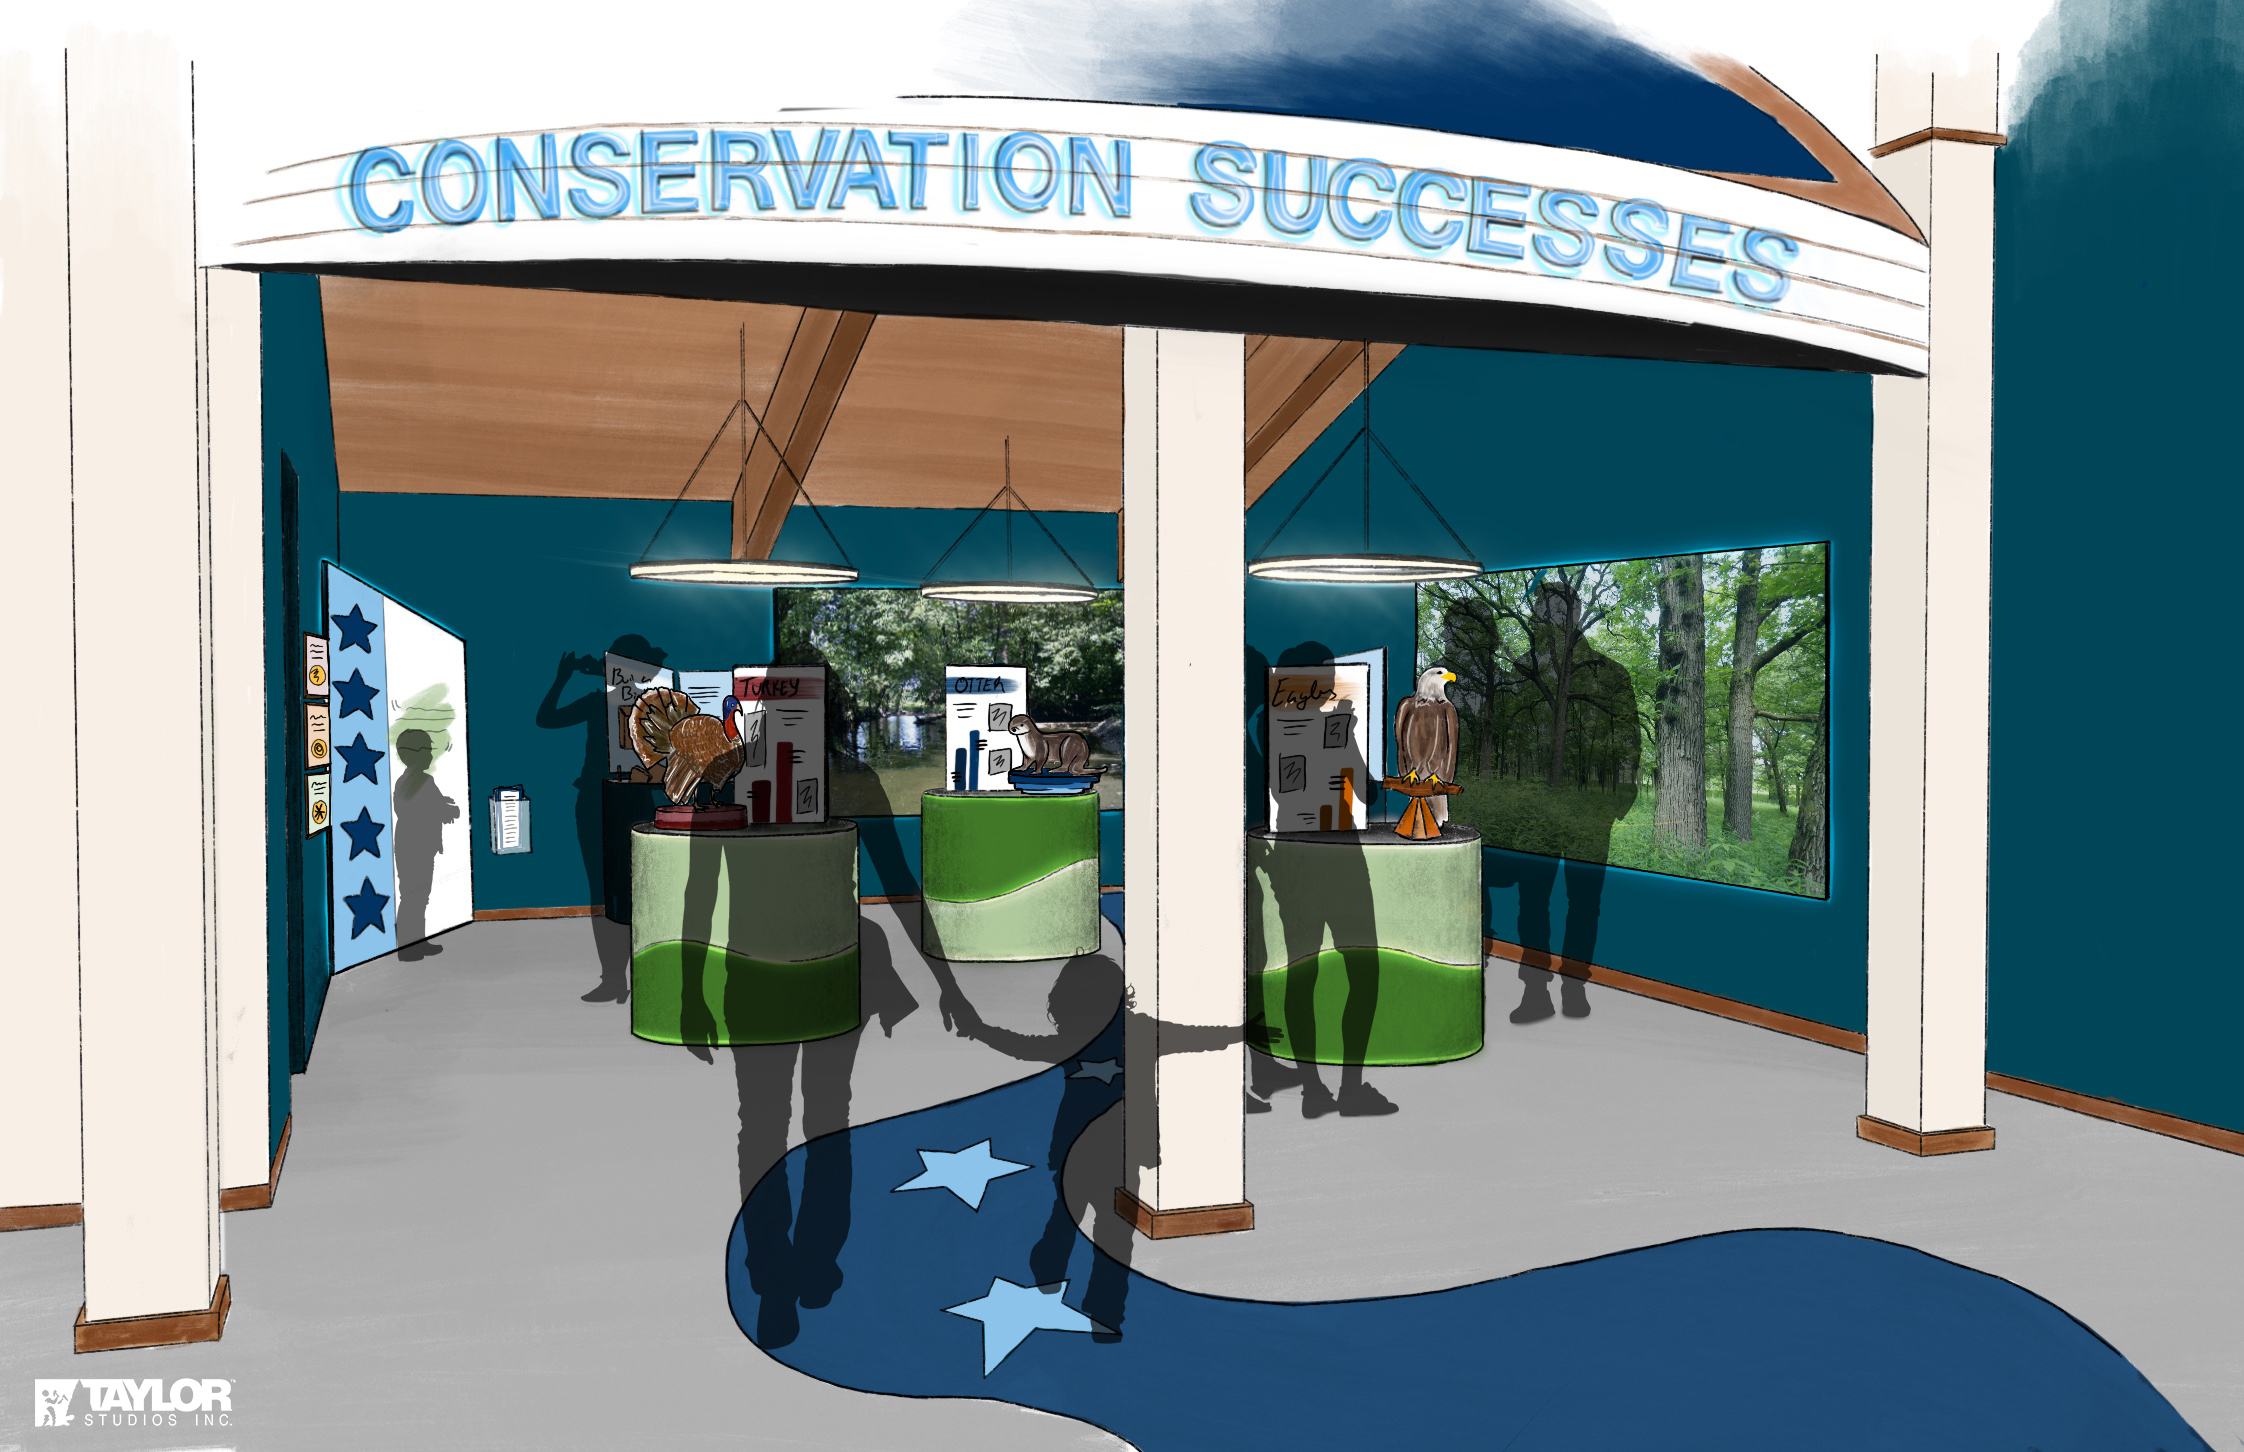
All sketches for client deliverables are drawn on my iPad with the Procreate app. I often bring in a view from SketchUp, lower the opacity and trace over it. This gives me the outlines of the exhibit layout at the correct scale and perspective. Then, I will draw in all the details and finish with shading and color. The app comes with many brushes, each creating a different effect, and additional brushes are downloadable. You can make drawings look like they were drawn with a pen, pencil, or paintbrush. Some of the brushes even create textures or patterns automatically. Procreate is a fun tool to use. Best of all, if you make a mistake, all you need to do is tap with two fingers to undo.

6. Vectorworks
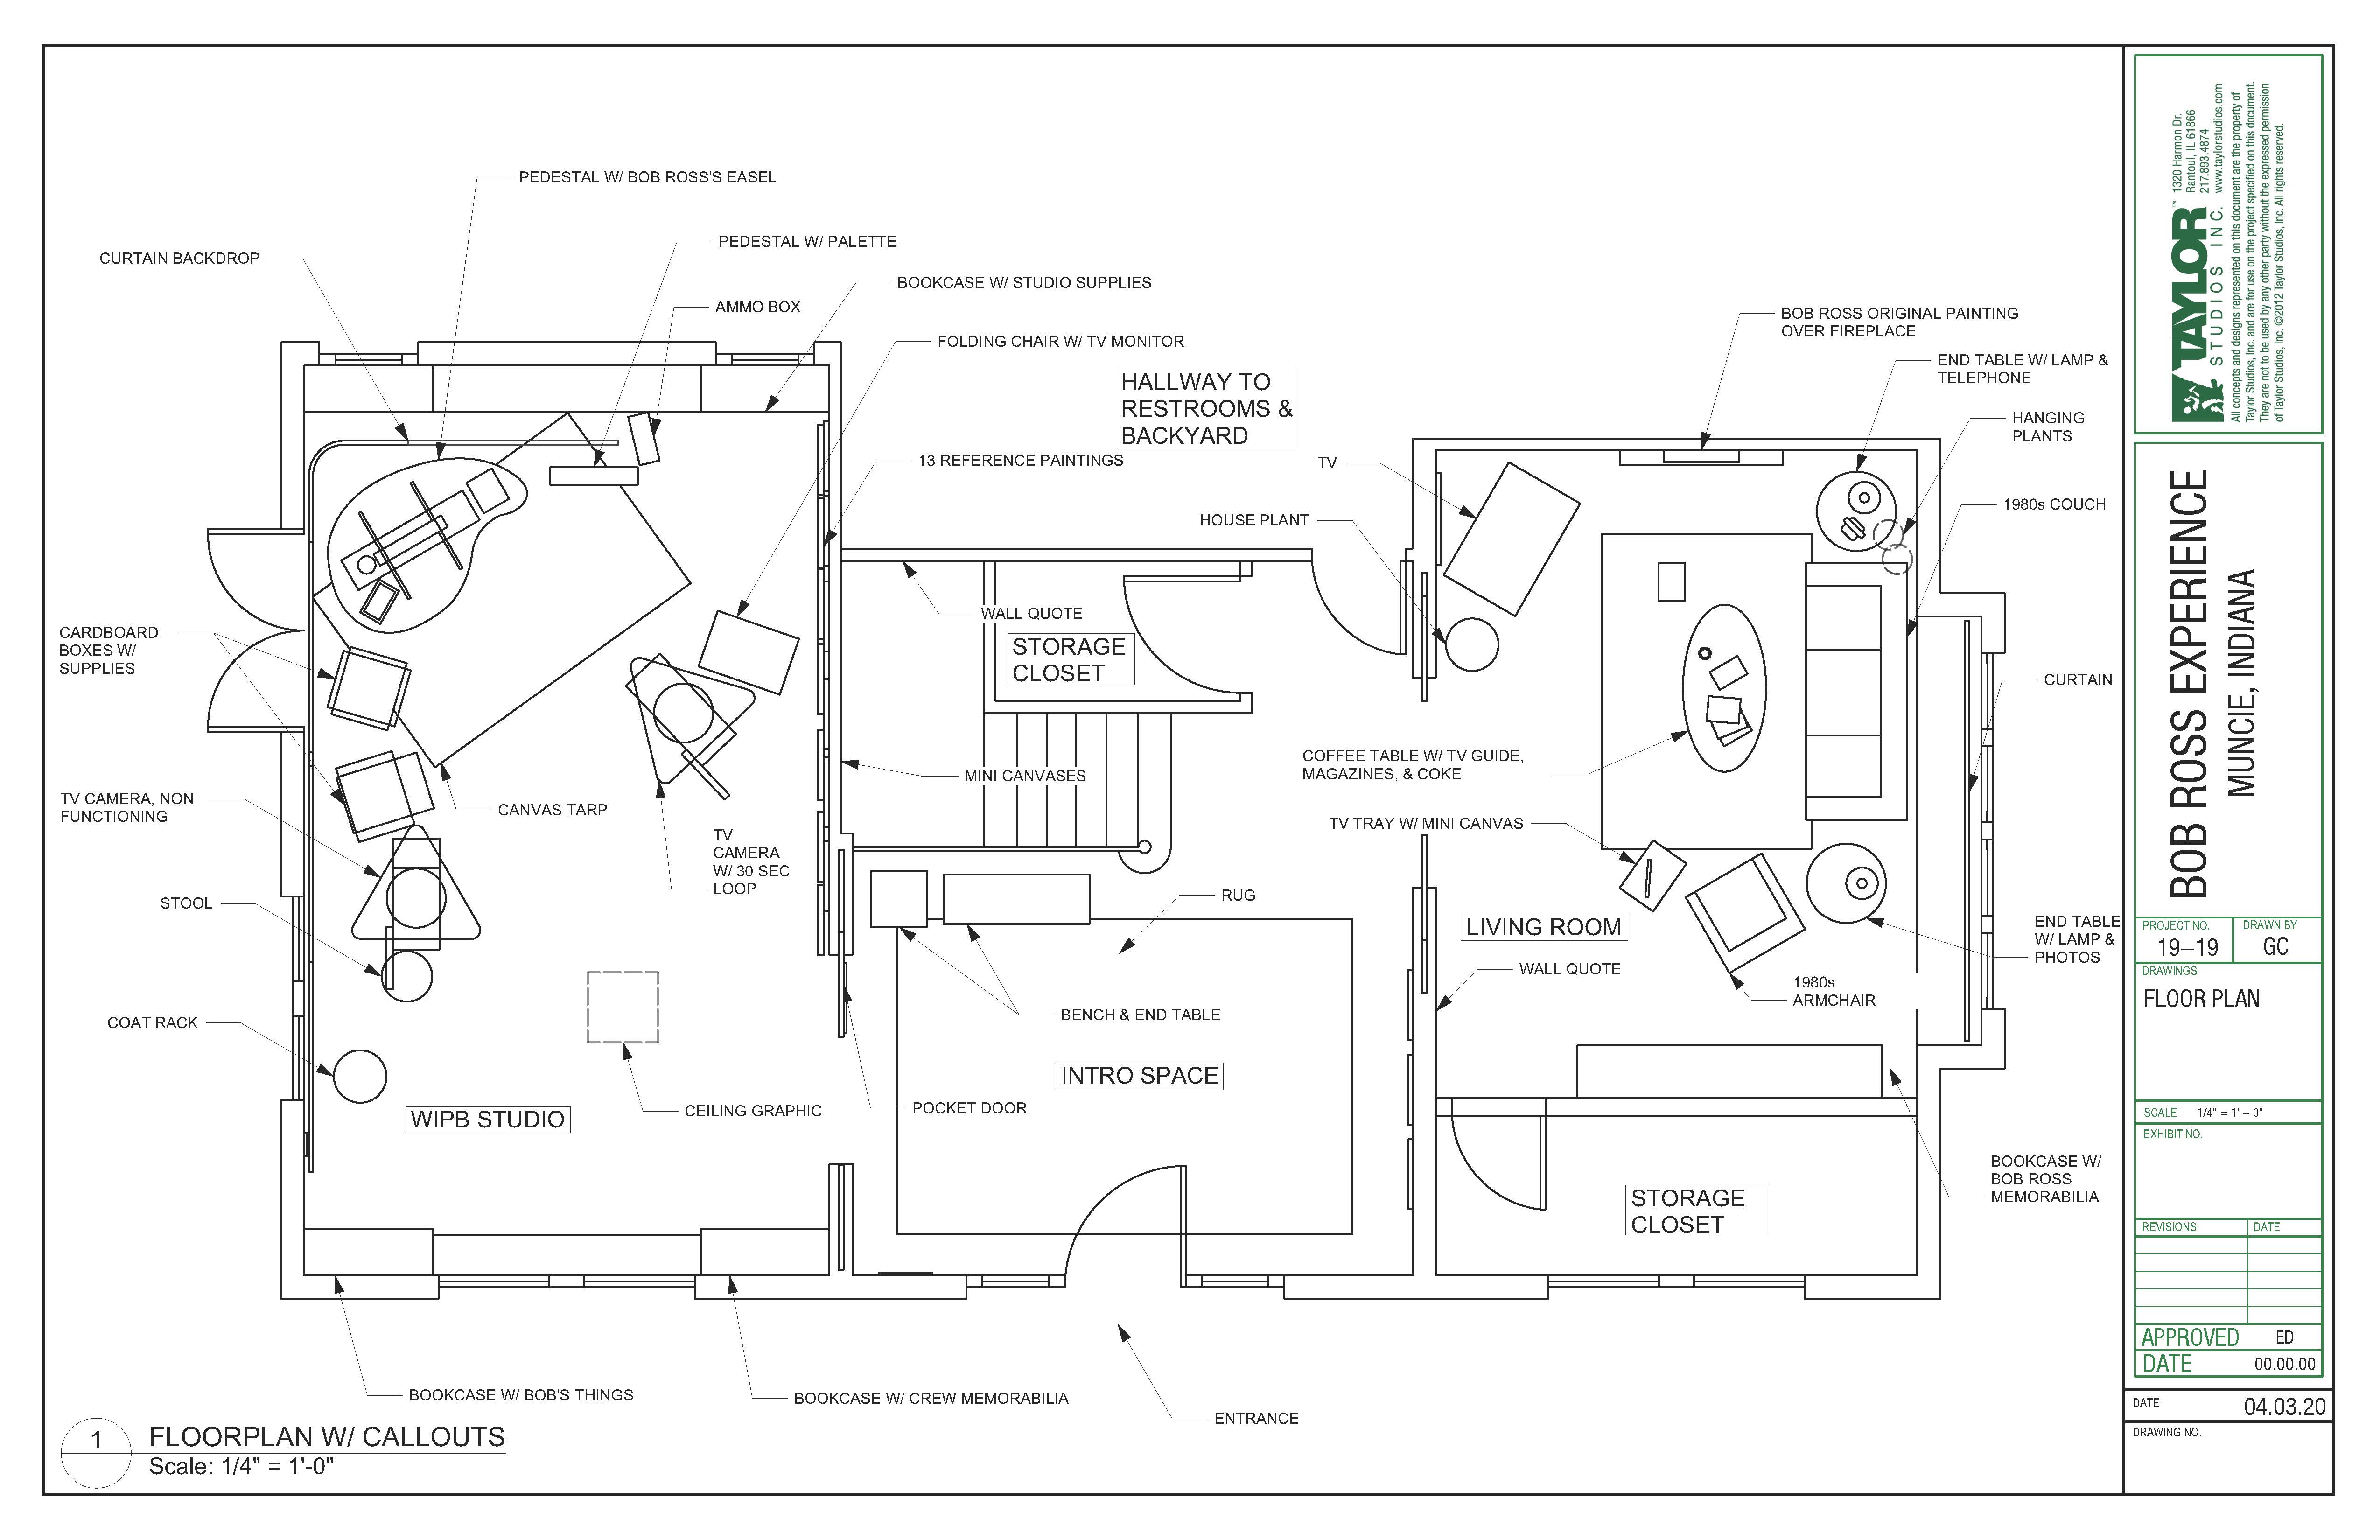
Once the client approves a concept and exhibit elements need to become more detailed, I will switch from SketchUp to Vectorworks. This program is a digital drafting tool where I will draw every detail of each exhibit element. These drawings will include all dimensions, material type, paint colors, graphic callouts, and any links to items we might be buying, such as drawer handles.

Share this on social networks